In accordance to city and county permits, a new requirement under all permits issued for HVAC replacements is Title 24 Certification.
Under this Title, a Certified HERS Rater has performed a duct test to measure the air loss in your ducting system.
The air loss under a pressurized test must be 15% or less on your system to meet California requirements. If your Title 24 test does not meet this requirement and leakage results are over, it would be necessary to re-evaluate the ducting system for ways to correct the loss. This can include recommendations from taping the vents for minor corrections to duct replacements at an additional expense to meet Title 24 expectations.
Safety First
Please note, use safety at all times if performing the work yourself. Always use a stable ladder when taping registers that are above your head, and make sure your work area is clear of obstructions. If you are unable to do this yourself, consult a ducting professional.
In this page, we will explain how to tape your vents to significantly lower the amount of loss from your duct system.
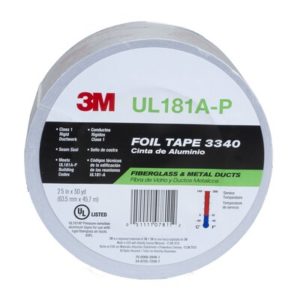
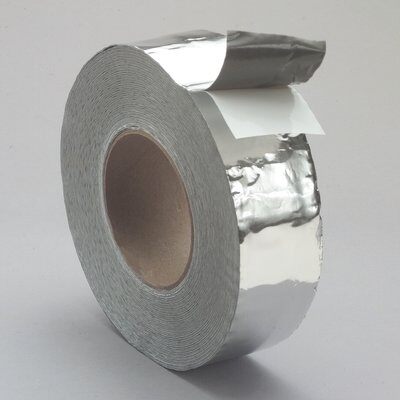
- Purchase 1-2 rolls of Foil Tape that is rated UL-181 from your local Lowe’s or Home Depot or hardware store. Cost usually is around $20/roll. UL-181 rating is used for ducts that carry cool air as well as can withstand the heat from your heater.
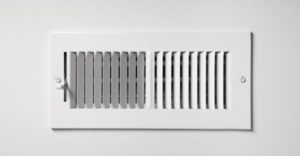
- Take down all vent registers that you will be taping, (or work on 1 at a time as you go). These are most commonly located in each room, kitchen, bath, etc., and can be either on a wall or on the floor depending where your ducting system runs throughout your home. There are usually 2 screws to remove if they are on your wall or ceiling, and if on your floor, in most cases you can just pry them up freely.
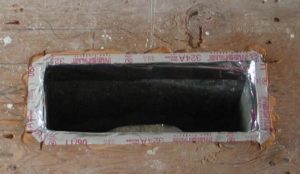
- Tape half around the edge of the vent hole, folding the other half into the hole creating a seal from the duct to your wall. (photo shown below). Be sure to go around the whole edge, and also, only taping enough onto the wall so that when your put your register back on, the foil tape wont show. (about 1/2″ onto the wall)
- Use enough tape to go around the edge of each vent hole one time, taking off the backing as you go to reveal the sticky part. The foil tape is very thin and easy to work with, be sure to be slightly gentle as it can rip if pulled too much.
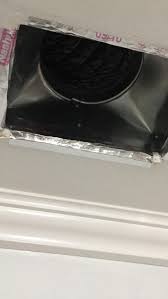
- Once entire edge of the hole is sealed, you can put your vent register back on.
- That’s it! Now you have sealed your vents from losing air in between the duct and walls of your home.